Microneedling: At-Home Products & Tips for Glowing Results
Collagen production is essential for skin renewal. As we age, our natural collagen production slows down, revealing lines, wrinkles and other signs of aging. Although many people rely on in-office treatments and procedures to boost collagen and reverse the signs of aging, there’s an at-home skincare option that’s gaining popularity: microneedling.
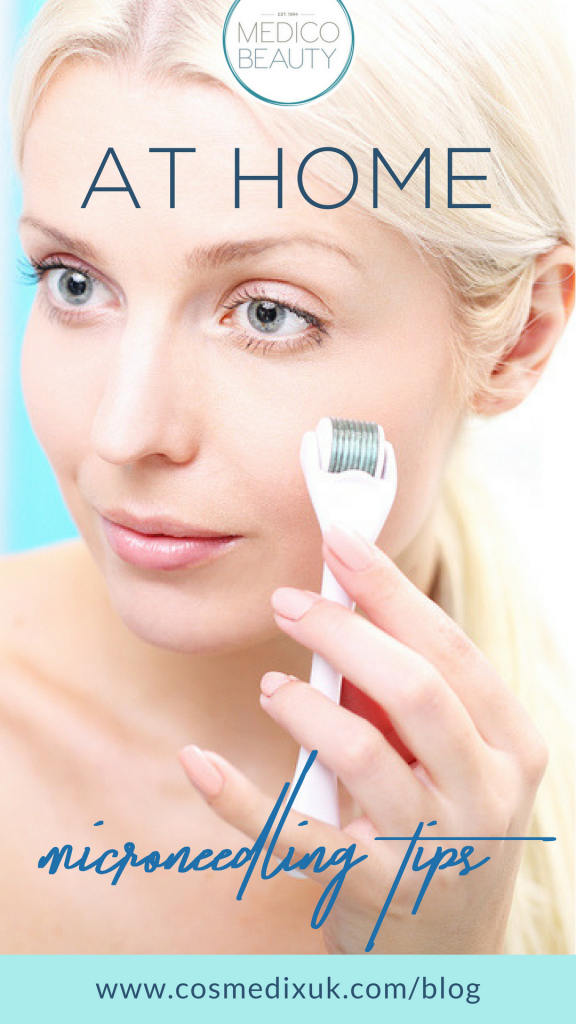
 Microneedling is a minimally invasive procedure that stimulates collagen production. How? A roller tool with tiny needles is rolled along the surface of the skin and creates small punctures on the top layer. The punctures signal the body to begin healing by producing more collagen. This stimulates cell turnover, which helps reduce the appearance of fine lines and wrinkles. Although the process sounds painful, especially if you’re nervous about needles, don’t worry; when done correctly, microneedling is painless. In addition to improving skin’s texture and appearance, microneedling also improves the skin’s ability to absorb the ingredients in the treatments and products you love.

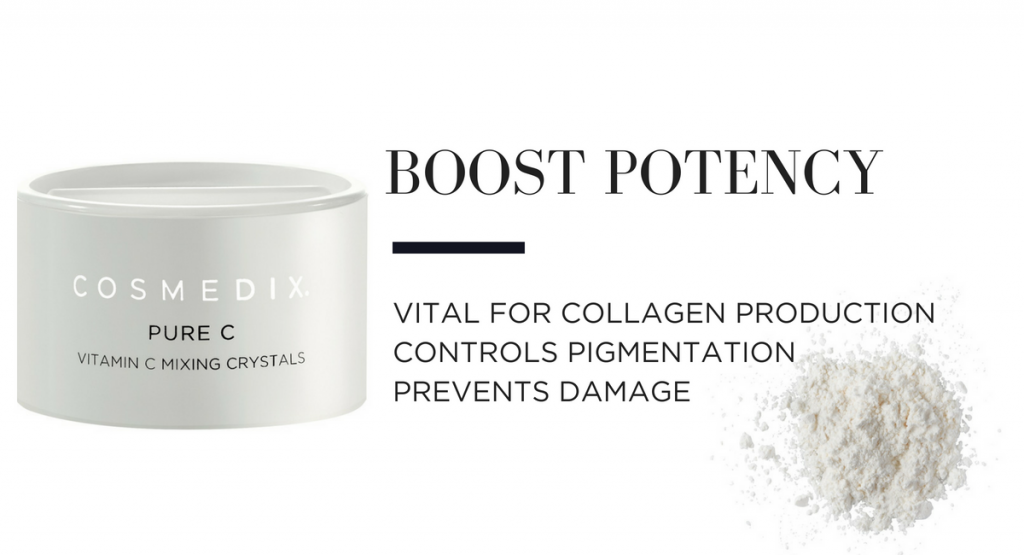 First, apply Serum 16 to your face. This nearly prescription-strength product reduces the appearance of hyperpigmentation, sun damage, age spots and deep lines. It brightens the skin and improves texture and tone. Mix Pure C vitamin C Mixing Crystals in with the serum for best results. The non-irritating crystals deliver a stable form of vitamin C to your skin. Vitamin C is essential for the production of collagen and elastin.
 Follow with Rescue+ Hydrating Balm and Mask to soothe skin irritation, reduce redness and accelerate recovery.
Microneedling is a minimally invasive procedure that stimulates collagen production. How? A roller tool with tiny needles is rolled along the surface of the skin and creates small punctures on the top layer. The punctures signal the body to begin healing by producing more collagen. This stimulates cell turnover, which helps reduce the appearance of fine lines and wrinkles. Although the process sounds painful, especially if you’re nervous about needles, don’t worry; when done correctly, microneedling is painless. In addition to improving skin’s texture and appearance, microneedling also improves the skin’s ability to absorb the ingredients in the treatments and products you love.
How to microneedle at home
Microneedling is easy to do at home. Make sure you’re doing in the right way. Watch the video below to learn more: https://youtu.be/Deb3MJl5k3YSafety first
Before you begin, take a few safety considerations in mind.-
- Always wear gloves. This prevents germs and bacteria from spreading to your face. Even if you thoroughly wash your hands beforehand (and you should do that, too), wearing gloves will help prevent infection.
- Sterilize the rolling tool both before and after each use. We can’t stress how important this is. Since the tool is creating punctures in your skin, a dirty tool may introduce bacteria and cause infection. Soak the tool in washing up liquid and warm water for about 10 minutes. Then, once you’ve rinsed it with hot water, sterilize it with surgical spirit, or rubbing alcohol. Rinse with water and then let it dry. Store it in a storage container when you’re not using it.
Follow a feathering technique
Working in sections you’ll want to roll the tool over the contours of your face, lifting it each time. Don’t roll it back and forth. As you saw in the video, roll over each section about 12 to 16 times. Watch the video above to learn more.Apply post-microneedling skincare products
It’s normal for your skin to appear red after the treatment. This is why applying the right products is so important.
First, apply Serum 16 to your face. This nearly prescription-strength product reduces the appearance of hyperpigmentation, sun damage, age spots and deep lines. It brightens the skin and improves texture and tone. Mix Pure C vitamin C Mixing Crystals in with the serum for best results. The non-irritating crystals deliver a stable form of vitamin C to your skin. Vitamin C is essential for the production of collagen and elastin.
Follow with Rescue+ Hydrating Balm and Mask to soothe skin irritation, reduce redness and accelerate recovery.
Leave a comment